
After an Incident is completed, it can be reviewed by selecting the completed incident on the incident page.
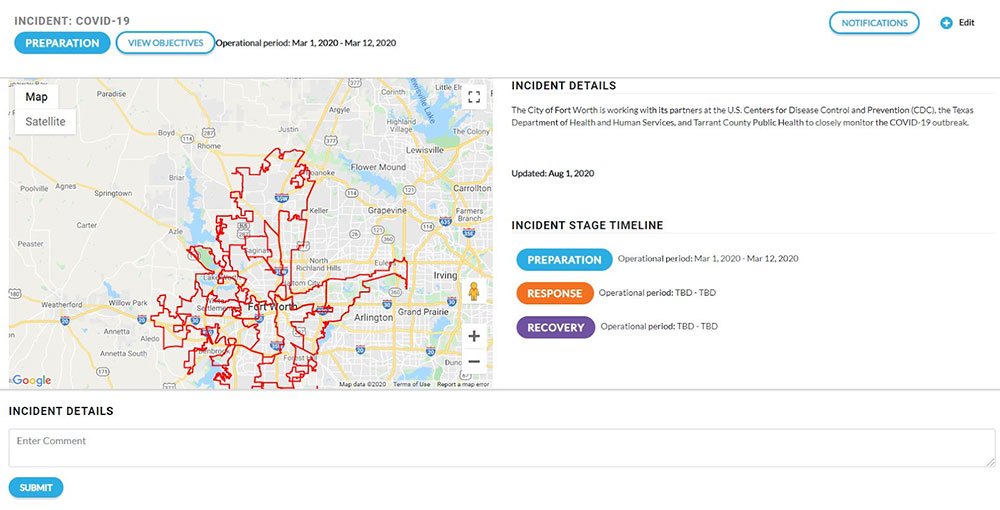
The top of the incident page displays the Incident name, the current Incident Stage and the Operational Period. If objectives were entered when the incident was created, the View Objectives Button will appear next to the current stage.

Click on the View Objectives button to display the objectives. Clicking on the button again will hide the objectives.
On the top right corner of the page are the Notifications and Edit buttons.
The Notifications button will allow an administrator to send all users a system email about the incident. To send a notification, click on the notification button. After the Notification button is selected, the notifications dropdown will appear.
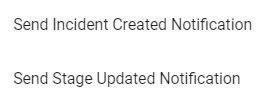
Configure automated email alerts to communicate that an incident was created or that a stage has been updated. To send a notification to all users, click on Send Incident Created Notification or Send Stage Updated Notification.
Below the Incident name, the current Incident Stage and the Operational Period is the incident map. The map will display the districts affected by the incident. To the right of the map are the Incident Details.
Below the map and Incident Details are Comments. Administrators can enter comments or additional information about the incident. To enter a comment, type the comment and select Submit.
Below the Comments is the Impact Ledger. The Impact Ledger displays the statistical information for the incident.